I’ve been watching with excitement ever since the announcement of powershell going open source and coming to multiple platforms like Mac and Linux.
My early experiments with it weren’t too productive – Powershell, with a base set of about 300 commandlets worked, but all the add-in commandlets I needed to work with Azure did not.
Jessica Dean wrote an article and another about how to install the azurerm.netcore.preview modules with an earlier beta release of powershell for the mac.
Unfortunately, I could not get it to work – I suspect it required a specific alpha or beta version of powershell for mac, as I remember being a version ahead at the time it didn’t work.
Fast forward to today.
Powershell Mac Beta 4 has been available for a few weeks.
UPDATE: PowerShell Mac Beta 5 was released on August 2nd 2017. I’ve tested the steps in the article and they still work with Beta 5.
You can find the download for it here: https://github.com/PowerShell/PowerShell
Scroll down the page and look for the table with all the different installers, and grab the .pkg file. (note that if you hover over it, the filename will show the version:)
In the past I’ve installed the beta without issue, and I’m assuming if you just double click the installer, you’ll be fine.
I always start powershell by opening terminal (a built in mac app) and then typing powershell.
At this point if you type $(get-command).count it’ll return about 300 commandlets.
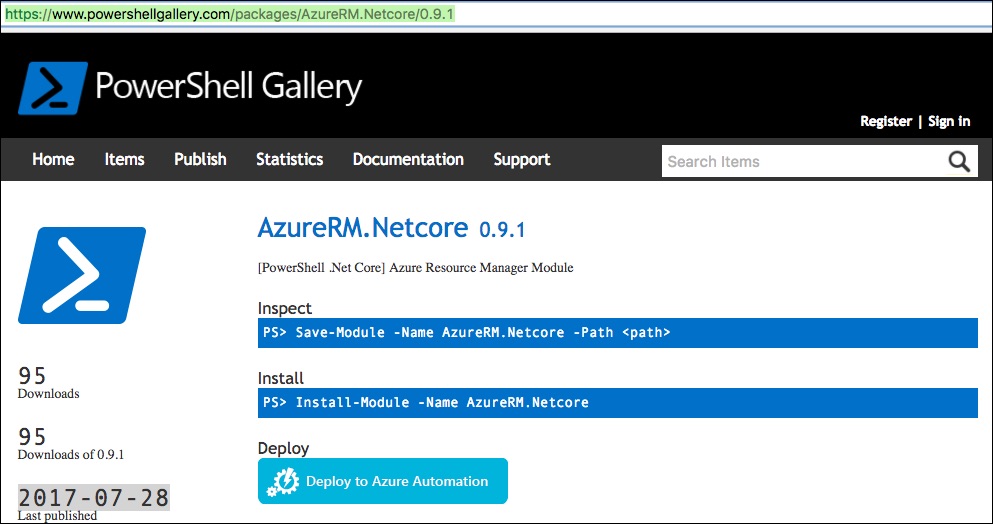
To install the Azure RM extensions, I did a search on the powershell gallery site: https://www.powershellgallery.com looking for azurerm.netcore.
I noticed that one of the search results didn’t have the .preview at the end, like the ones in Jessica’s article. And I noticed that the update date on it was from 3 days ago, this is a good sign! (Update as of 8-10, Powershell Mac was updated to beta 5, but the AzureRM.NetCore module was still at 0.9.1 – I can confirm this works with beta 5 (though After installing beta 5, I did have to re-install AzureRM.Netcore)
I followed the instructions under install and got an error about not having permissions.
I exited powershell, then was brought back to terminal
Then from terminal I typed:
Sudo powershell
This brought me back into a powershell window, and I was able to run:
Install-Module -Name AzureRM.Netcore
After that. I did a get-command and I now have nearly 900 commandlets!
Next I typed add-azurermaccount and I was able to get in!
(The auth system was a little weird, directing you to open a Url in a separate browser, sign in and copy/paste a code from powershell to the browser window, but it worked!)
This is great improvement!
Now, with proof that things are working, I wanted to confirm it worked without starting powershell with the sudo command.
Sure enough it works fine without it.
In closing, I’ve outlined the steps needed to install powershell and the azureRM extensions on a mac so you can work with azureRM powershell commands on your mac.
Let me know in the comments if this helps!
- Jack


Great post, Jack! Thanks for writing this up! We need more people who are excited about these kinds of releases in our Linux / MacOS community.